10 Essential Tips for Using Thermit Welding Molds Effectively
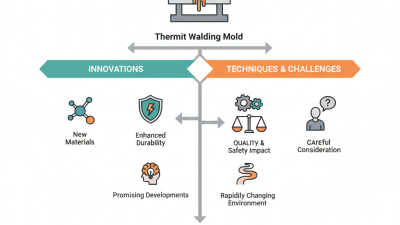
Thermit welding molds play a vital role in the metal welding industry. According to recent industry reports, the demand for friction welding and thermit welding has increased by 25% in the past three years. These molds enhance the efficiency and precision of welds in various applications. However, using Thermit Welding Molds effectively requires a deep understanding of their properties and limitations.
Many welders overlook crucial factors when working with Thermit Welding Molds. For example, temperature management is essential. A slight miscalculation can lead to poor bonding and increased defects. Moreover, the choice of mold material impacts the final results. While some prefer lightweight aluminum molds, others opt for robust steel variants. Each choice carries implications on durability and cost.
Though Thermit Welding Molds offer significant advantages, challenges persist. Users must consider the mold's design and suitability for specific tasks. Inadequate preparation may cause complications. Investing time in understanding these tools yields better outcomes. Effective use of Thermit Welding Molds can ultimately lead to safer, stronger joints in structural applications.
Understanding Thermit Welding Molds: Definition and Applications
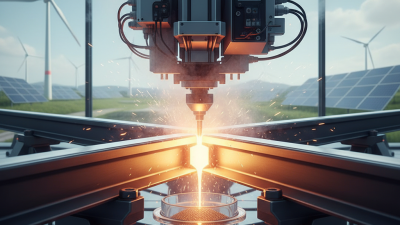
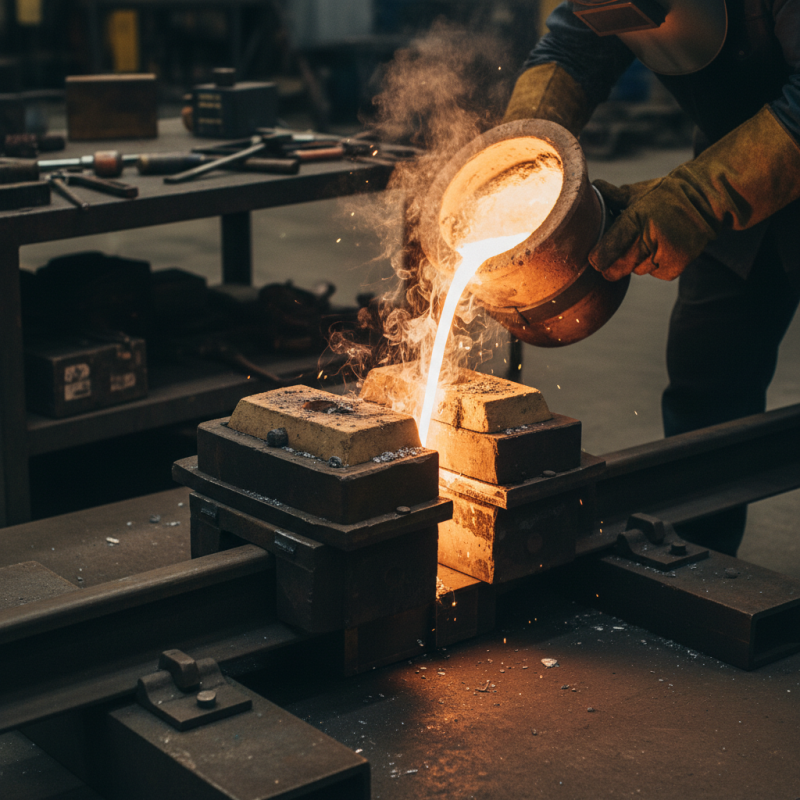
Thermit welding molds are essential tools in metal joining processes. These molds facilitate the thermit reaction, which produces intense heat. This heat melts the metal and allows for a strong bond to form. The molds come in various shapes and sizes to suit different applications. They are typically made from refractory materials that can withstand high temperatures.
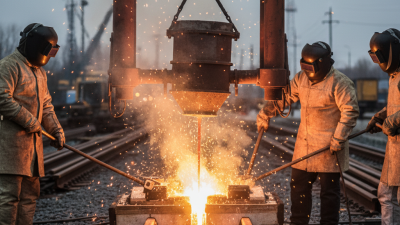
Using thermit welding molds effectively requires a good understanding of their applications. For example, they are commonly used in railway construction for rail welding. Ensuring a precise fit between the mold and the components is crucial. Any gaps can lead to weak joints or failures. The alignment must be checked thoroughly before pouring the molten metal.
Temperature control is also vital. If the metal is too cool, it may not bond well. If it’s too hot, it could lead to defects. Regular practice can help in achieving better results, but mistakes can be costly. Occasionally, a weld may not meet expected standards. Reflecting on these experiences can lead to improvements in technique.
10 Essential Tips for Using Thermit Welding Molds Effectively
| Tip Number |
Tip Description |
Importance |
Application Area |
| 1 |
Select the appropriate mold size for the application |
High |
Railway, Construction |
| 2 |
Ensure the mold surfaces are clean and dry |
Medium |
Manufacturing, Maintenance |
| 3 |
Preheat the mold to minimize thermal shock |
High |
Electrical Components, Metal Works |
| 4 |
Use high-quality thermit materials for better results |
High |
Metal Joining, Heavy Industries |
| 5 |
Monitor temperature throughout the welding process |
Medium |
Fabrication, Repair |
| 6 |
Choose the right time for cooling |
High |
Construction, Refining |
| 7 |
Inspect weld quality after cooling |
High |
Infrastructure, Transport |
| 8 |
Use protective gear for safety |
Critical |
All Applications |
| 9 |
Train personnel on thermit welding techniques |
High |
Workshops, Training Centers |
| 10 |
Document the welding process for quality control |
Medium |
Manufacturing, Quality Assurance |
Selecting the Right Thermit Welding Mold for Your Project
Selecting the right thermit welding mold is crucial for a successful project. A well-chosen mold can make a significant difference in the quality of your weld.
Consider the size of the components you are working with. Is it a large pipe or a smaller plate? The wrong size can lead to misalignments and unsatisfactory results.
Material compatibility is another important aspect. Different molds work better with certain materials. For instance, using a mold designed for steel on iron may not yield optimal results. Always check the specifications of the mold before purchasing. If you're unsure, consult with a professional or gather feedback from experienced welders.
Don't overlook the design of the mold itself. Complex designs might seem attractive, but they can complicate the welding process. Sometimes, simpler molds perform better. Additionally, reflect on your skill level. A beginner might struggle with intricate molds. Assess your capabilities honestly. The wrong choice can lead to frustration and wasted resources. Choose wisely to ensure project success.
Techniques for Accurate Alignment and Pouring of Thermit Material
Achieving accurate alignment when using thermit welding molds is crucial. First, ensure the molds are clean. Any debris can lead to misalignment or poor bonding. Position the molds on a sturdy surface. This minimizes movement during the pouring process. It’s critical to check the alignment multiple times before pouring. This step cannot be overlooked.
Pouring the thermit material requires precision. Keep an eye on the pouring angle. Too steep or too shallow can affect the flow. Make use of simple tools to guide the material. Keep the pouring steady and controlled. If mistakes occur, review your technique. Sometimes, misalignments can happen due to impatience. Practice can significantly enhance your pouring skills over time. Adjustments may be necessary. Each project offers challenges and learning moments. Embrace those and refine your approach.
Post-Welding Maintenance and Inspection of Thermit Welds
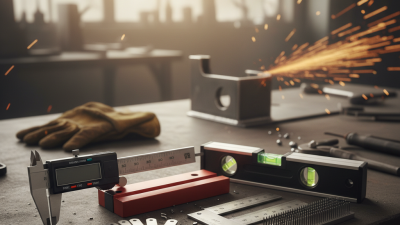
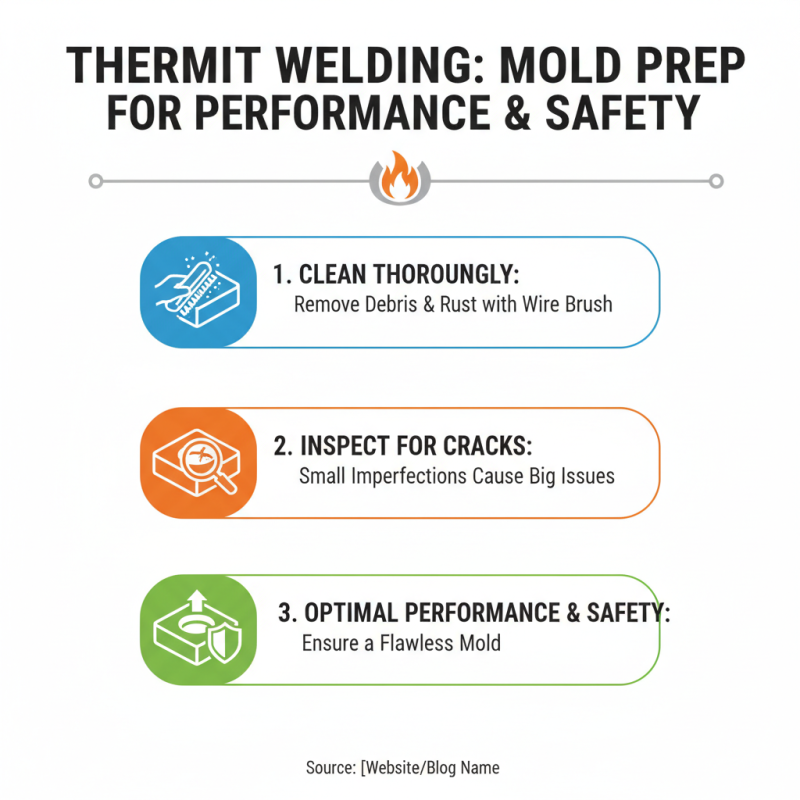
Post-welding maintenance is vital for the longevity of thermit welds. Inspect the welds regularly, focusing on any signs of cracking or separation. It's easy to overlook minor imperfections. However, even the smallest issues can lead to larger failures. Conduct a thorough visual inspection at specified intervals. This ensures early detection of potential problems.
When maintaining thermit welds, cleanliness is crucial. Remove any slag or debris promptly following the welding process. This not only improves aesthetics but also prevents corrosion. Inspect surrounding areas for contamination and clean them as well. Use the right tools for a detailed job. A wire brush can help eliminate stubborn residues.
Tips for effective post-welding maintenance include documenting all inspections. Keeping a maintenance log helps in tracking the condition over time. It’s essential to stay organized to avoid missing important details. Additionally, engage your team in discussions on best practices. Sharing insights can illuminate overlooked issues. Always foster a culture of vigilance and care among your team.
Effectiveness scores indicating the importance of various maintenance and inspection tips for thermit welding molds. Higher scores reflect better practices for ensuring quality in welds.